
Scenario Studio · Beginner tutorial
How to use Truvyx Scenario Studio for your first AI evaluation
If you have never been in an AI evaluation discussion before, start here. We will take one operational problem, turn it into a reusable scenario, and explain what every important field is doing along the way.
First, the vocabulary
An evaluation scenario is a repeatable test. It says what an AI system is being asked to do, what information and actions are available to its agents, and which rules define an acceptable result. Once saved, you can run many different systems through the same scenario and compare their behaviour.
You do not need to write code to create one. You do need to describe the operation clearly enough that another person could tell the difference between a correct decision and a merely plausible one.
Before you open the product: choose a real decision
Do not begin with “I want to test my chatbot.” That is too broad. Begin with one job the system performs and one consequence that matters. For example: “Our claims assistant decides whether an insurance claim should be approved, rejected, or escalated for human review.”
A good first scenario has four ingredients:
- the operation the system performs;
- the decisions or actions it can take;
- the information it is allowed to use;
- what must never happen, and what a good outcome should optimise.
Keep this first scenario narrow. A narrow, testable scenario teaches you more than a grand description of your entire product.
Step 1: open the working Scenario Studio
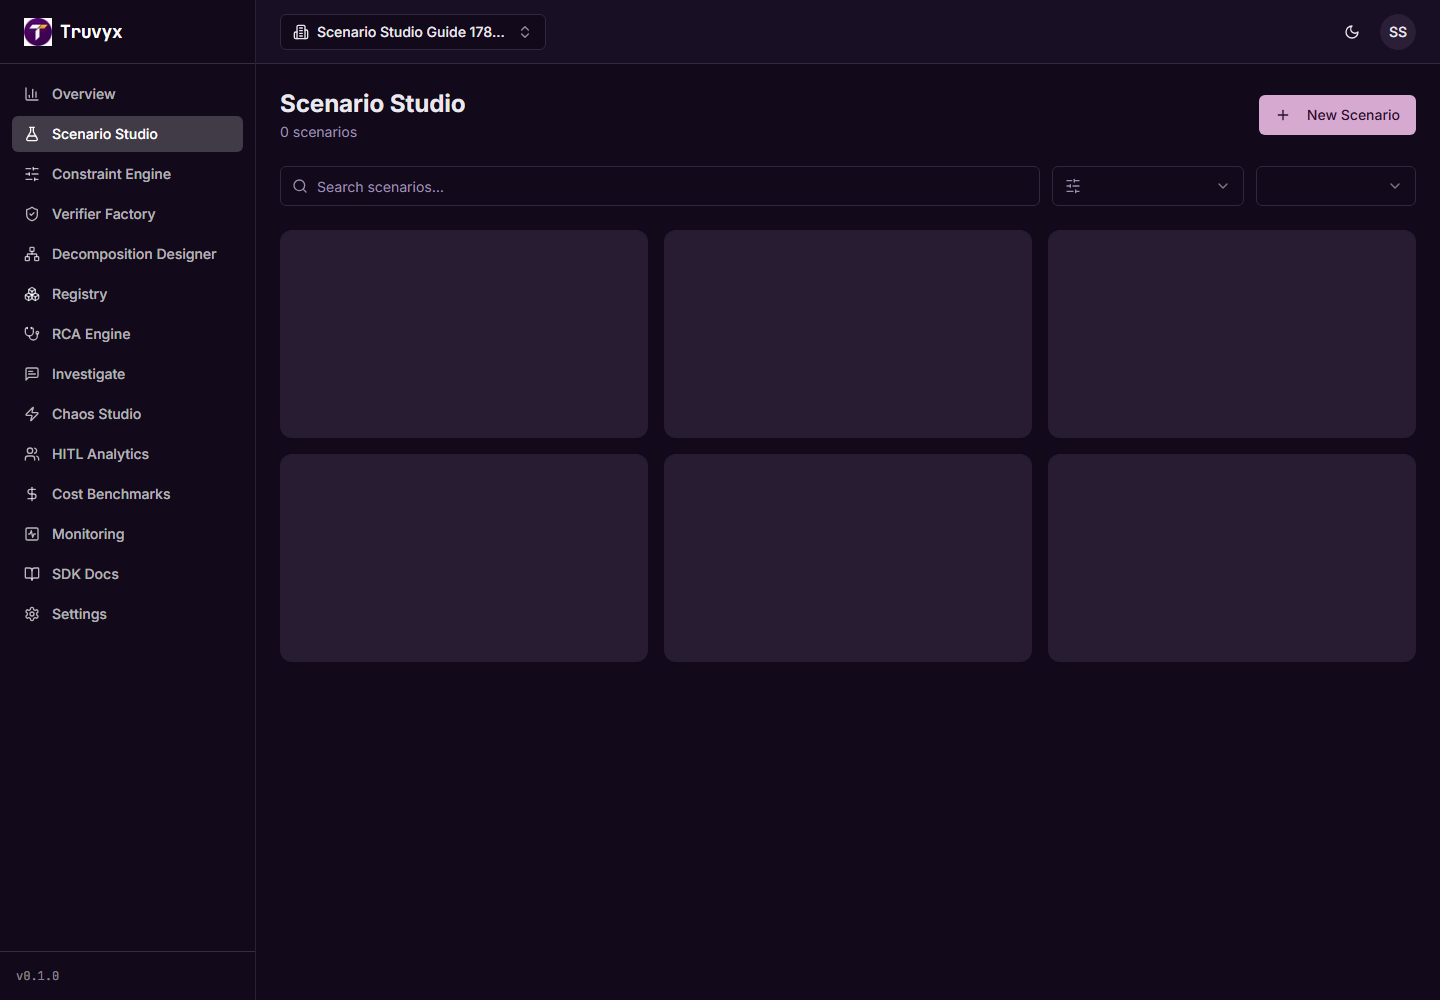
In the dashboard, choose Scenario Studio in the sidebar. The working route is /scenarios. You will see the scenarios belonging to your organisation, a search box, domain and difficulty filters, and a New Scenario button.
If you have no scenarios yet, the empty state points to the same button. The similarly named legacy path /scenario-studio now redirects to this working page.
Step 2: decide how to start
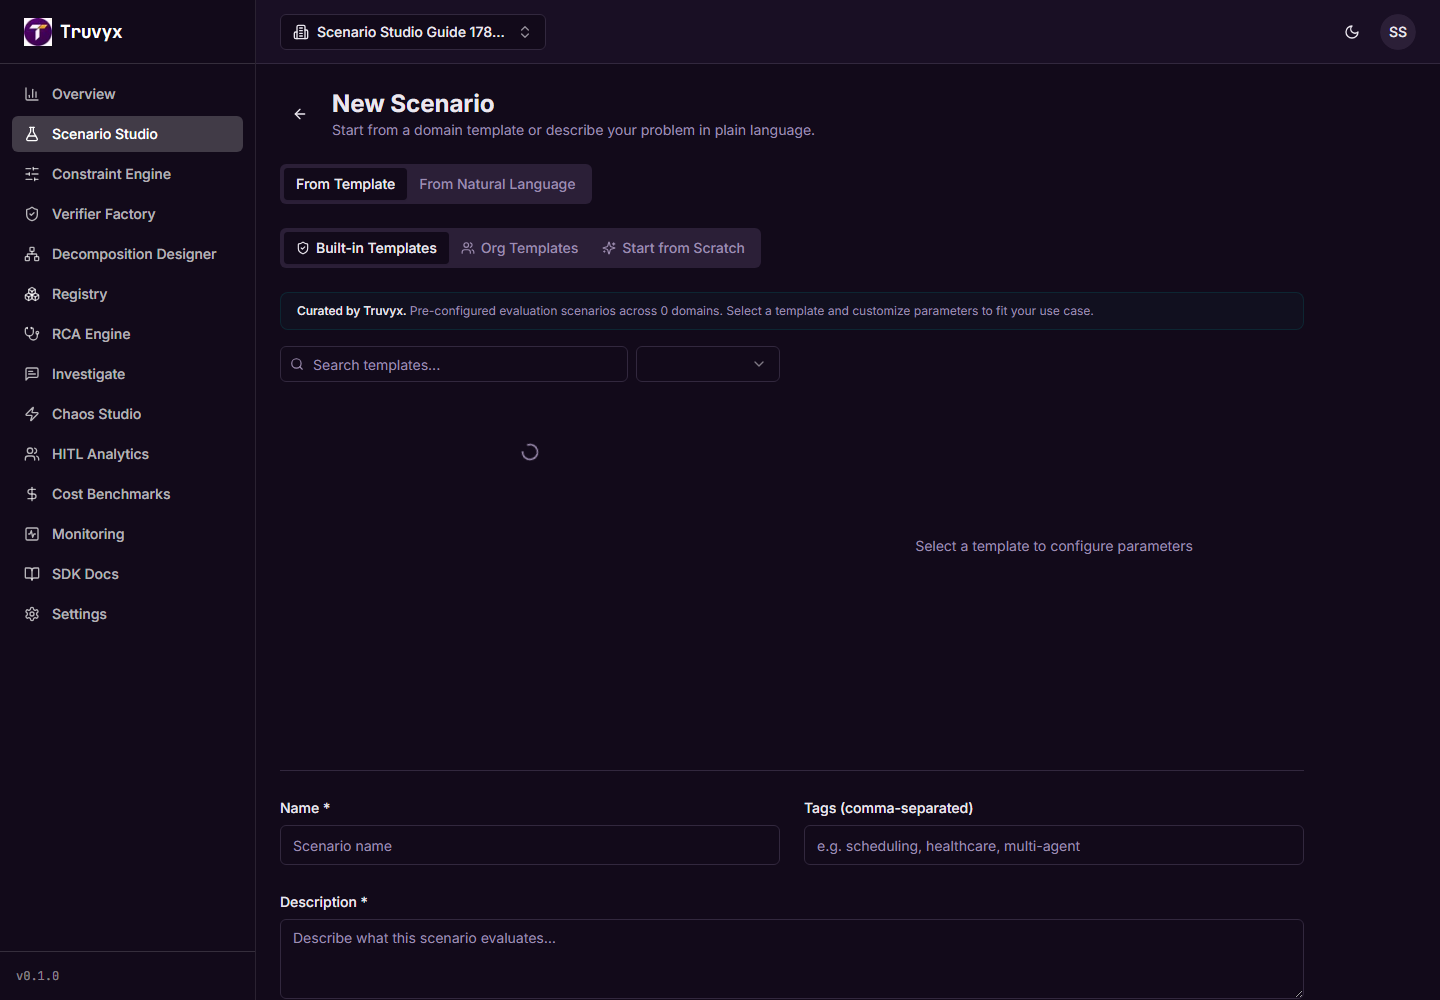
Click New Scenario. Truvyx gives you two creation paths. They end in the same saved scenario, but they are useful in different situations.
- From Template is the fast path. Choose a curated domain template, inspect its agent roles and base constraints, then adjust the parameters.
- From Natural Language is the flexible path. Describe your own operation and let Truvyx generate a machine-readable first draft that you can review before saving.
For a first evaluation, use a template if one resembles your operation. Use Natural Language when the workflow is specific to your organisation or when you want to learn how a written description becomes an evaluation specification.
Step 3: use the Natural Language helper without knowing prompt engineering
Open the From Natural Language tab. Select a domain and a difficulty. The default difficulty is High, but that does not mean you should blindly keep it. Choose a level that matches the risk and complexity of the decision you are testing.
If you do not know what to write, open Not sure what to write? Answer a few questions instead. The helper asks what your product does, what decisions it makes, what could go wrong, and who is affected. The first two answers are required; the last two add useful context.
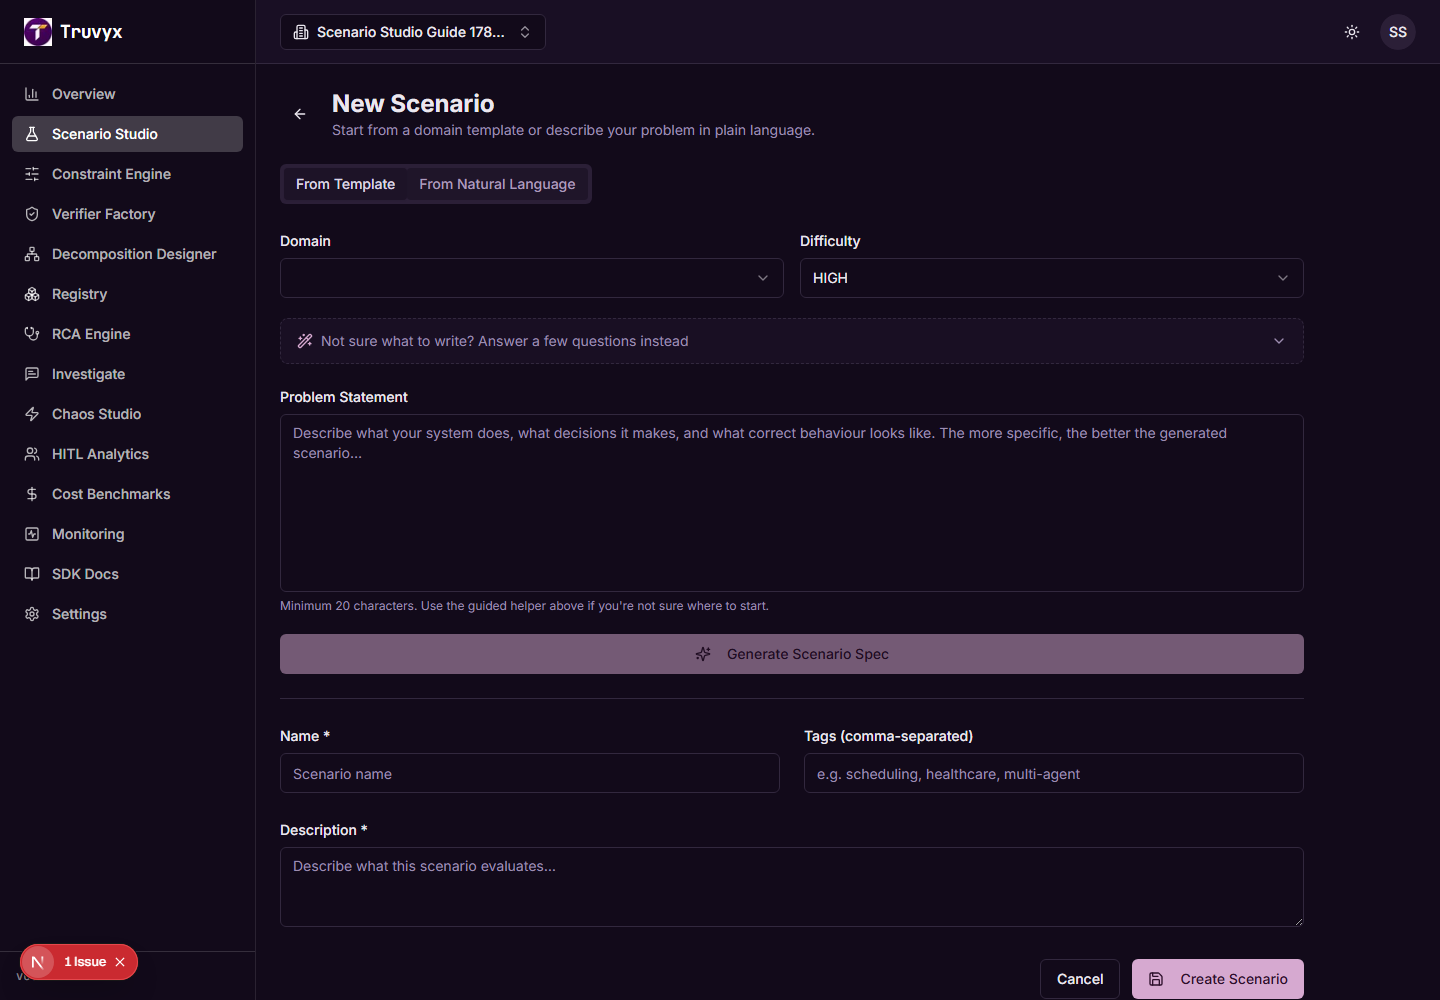
The helper assembles your answers into a problem statement and puts that text back into the main editor. Read it. Edit it. The generated text is a starting point, not an authority.
When you click Generate Scenario Spec, the browser sends the problem statement, domain, and difficulty to the Natural Language generation route. The server asks the configured language model for a JSON specification containing a name, description, problem statement, agent roles, constraints, parameters, and tags.
The request reached Truvyx, but no usable language-model provider completed the generation request. Check that the deployment has an OpenRouter or Groq key configured, then retry. This is different from an unclear prompt and different from an API-key authentication error.
Step 4: understand the generated specification
The generated result is not just a paragraph. It is a structured draft designed to make the scenario testable. Read it as a checklist:
- Name and description: can a teammate understand the test without asking you?
- Agent roles: are the participants named, and does each role have an information scope and action space?
- Constraints: are the rules specific enough to evaluate, and do they cover more than one kind of risk?
- Parameters: which values should change between test cases, such as capacity, deadline, or risk threshold?
Truvyx asks the model for at least six constraints across at least three categories. The server still validates categories before persisting them. Review the wording because a syntactically valid constraint can still be operationally wrong.
Step 5: name the scenario and save it
Below the creation tabs, complete the editable fields. The name and description are required. Natural Language generation can prefill them, but you can replace them with language your team uses every day.
When you click Create Scenario, Truvyx creates the scenario and its first version in one database transaction. If the scenario came from Natural Language, it then persists the generated machine specification and validated constraints. If you started from a template, Truvyx can generate a first specification from the template description as well.
After saving, you are taken to the scenario detail page. That page is the home for the test: overview, agent roles, constraints, versions, machine spec, monitoring, model swap, verifier, decomposition, and connection options.
Step 6: do the first quality check
Before connecting an agent, read the scenario as if you were the evaluator who did not create it. Ask:
- Could two people interpret “good behaviour” differently?
- Does every hard constraint describe something that must never be violated?
- Are soft constraints genuinely preferences rather than hidden requirements?
- Do agent information scopes reflect what each participant is allowed to know?
- Would the parameters let you create both an ordinary case and a difficult edge case?
If the answer is no, edit the scenario before collecting runs. A fast evaluation of an ambiguous scenario produces fast ambiguity, not useful evidence.
What happens next?
Once the scenario is clear, choose the next module based on your goal:
- Need to define or refine rules? Open Constraint Engine.
- Need to execute a verifier? Open Verifier from the scenario detail page.
- Need to submit an external agent? Choose Connect and use the generated v1 API example with your production API key.
- Need to understand a failure? Use the run result and then RCA Engine to trace the smallest repair.
Scenario Studio is not the place where you “grade an AI” once. It is where you define the repeatable question that every later module answers.
Continue the loop
Start with Scenario Studio, then read how to build an evaluation pipeline when you are ready to run the same scenario repeatedly.