
Constraint Engine · Beginner tutorial
How to use Truvyx Constraint Engine without getting lost in the rules
Constraints are the part of an evaluation that turns “this answer feels wrong” into a rule someone else can inspect, run, and challenge. This guide explains every touchpoint in the Constraint Engine and how it connects to the rest of Truvyx.
The one-sentence mental model
A scenario describes the job. A constraint describes what must or should be true while the agent performs that job. The Constraint Engine stores those rules, checks whether they can coexist, and makes them available to evaluation, verification, compliance, and diagnosis.
Before you begin: hard, soft, and category
Hard constraints are requirements. If the system violates one, the result should not be treated as fully acceptable. Examples include “never expose a patient’s national ID” or “do not assign two appointments to the same surgeon at the same time.”
Soft constraints are preferences. They help rank or score otherwise valid outcomes, such as “prefer continuity of care” or “minimise travel distance.” A soft rule should not secretly be a hard rule.
Every constraint also has a category: Temporal, Resource, Dependency, Geographic, Regulatory, Optimization, Safety, Data Governance, or Fairness. Categories help people find patterns in a large rule set; they do not replace the rule’s plain-language meaning.
Where the dashboard fits
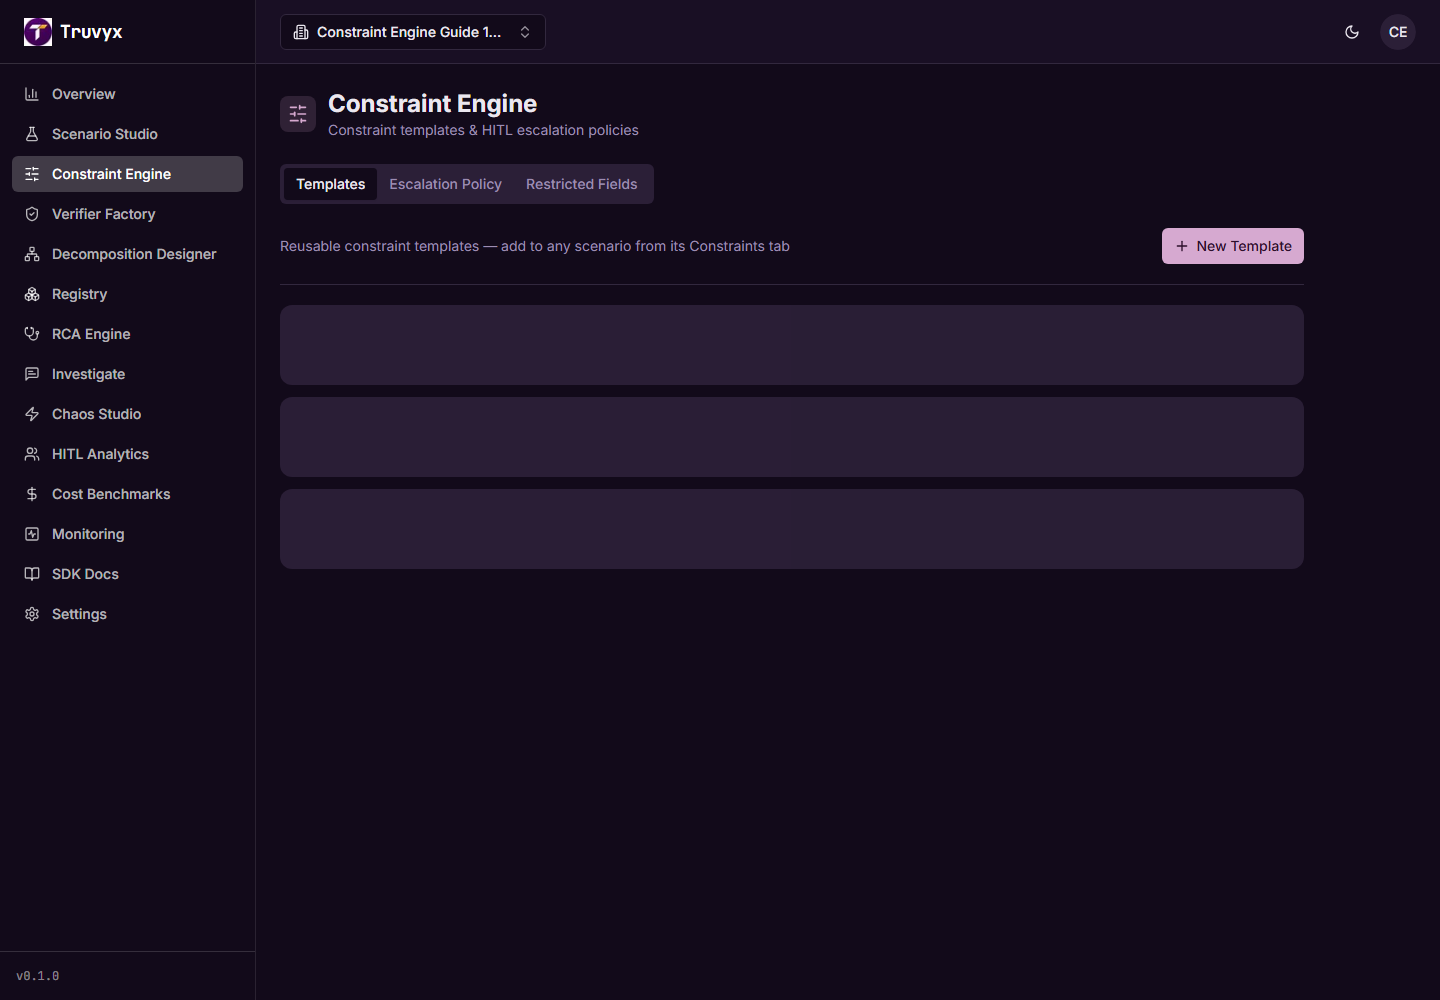
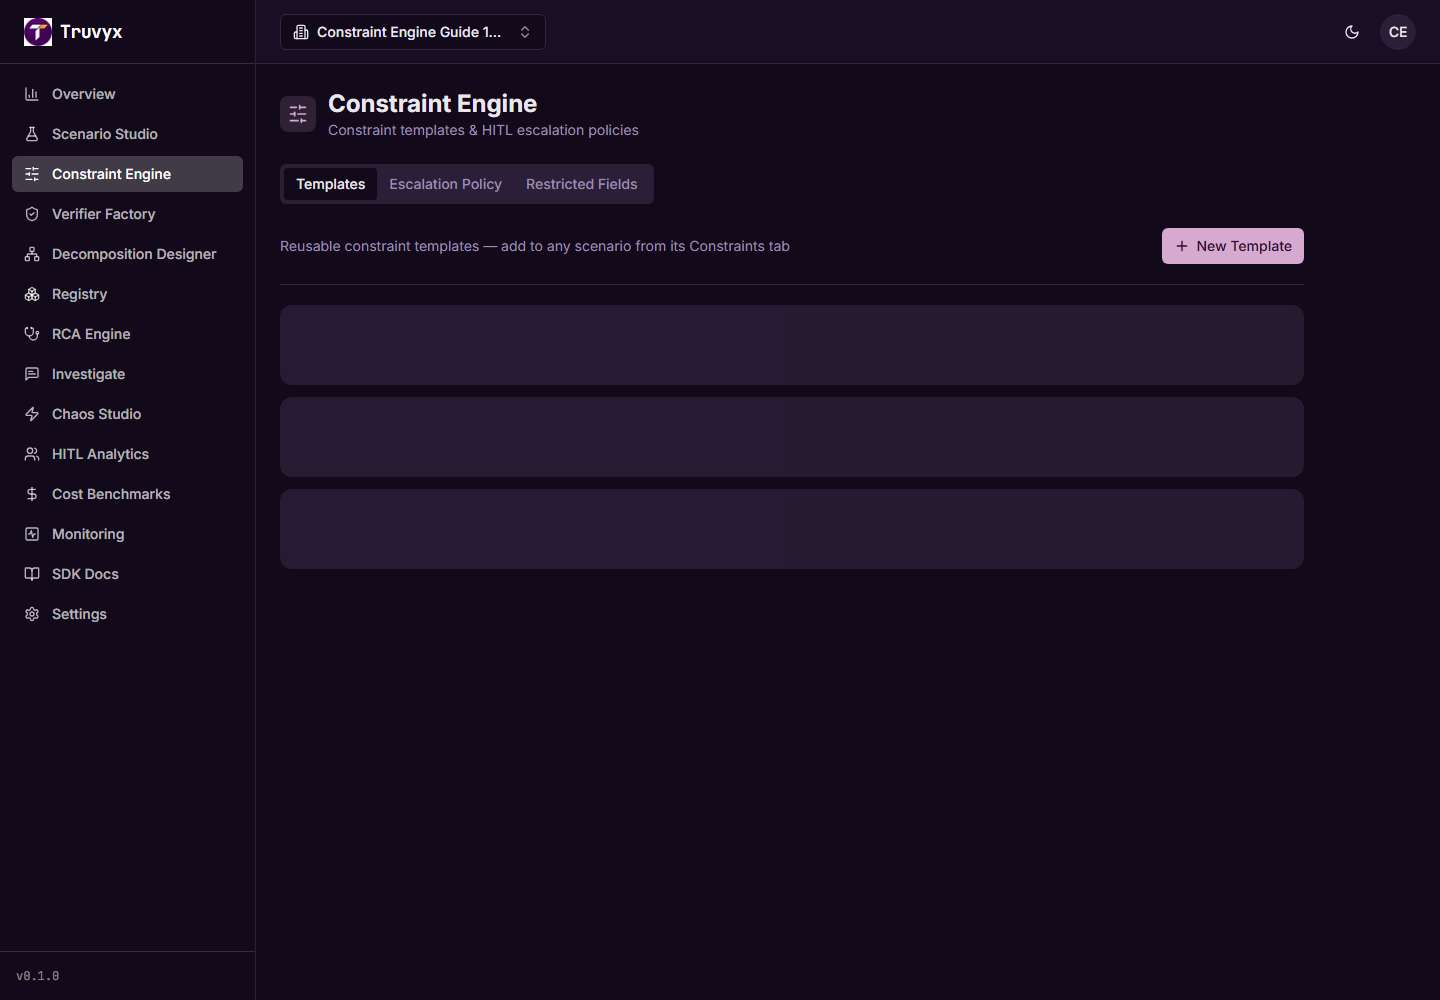
Open Constraint Engine from the dashboard sidebar. The page has three tabs:
- Templates: reusable rules you can apply to scenarios, plus export.
- Escalation Policy: rules for when an agent must stop and request human approval.
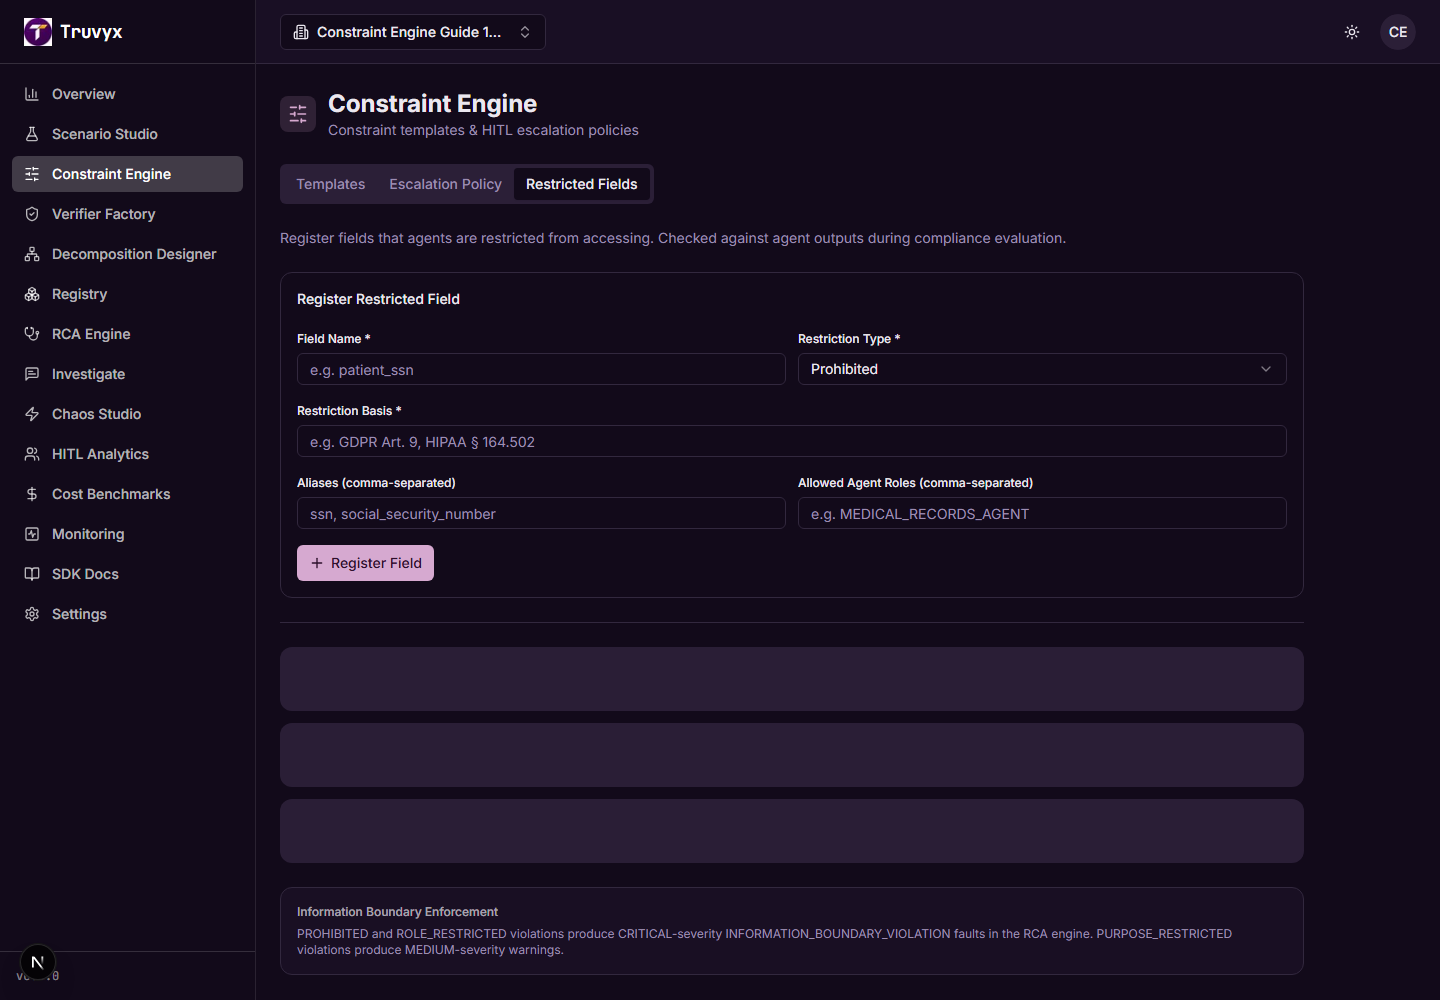
- Restricted Fields: organisation-level information boundaries for sensitive data.
The scenario-specific rules are elsewhere: open Scenario Studio, open a scenario, and choose its Constraints tab. This distinction matters: a template is reusable; a scenario constraint belongs to a particular evaluation.
Step 1: create a reusable constraint template
Use a template when the same rule should appear in multiple scenarios. Click New Template. The form asks for six pieces of information:
- Name: a short name your team can scan.
- Category: the kind of operational rule it represents.
- Type: Hard or Soft.
- Description: a concise explanation for the library card.
- Natural Language: the plain-English rule that evaluators and reviewers should understand.
- Expression: JSON/CDL describing the machine-readable form.
Start with the natural-language rule. Write it so a new evaluator can tell exactly when it passes or fails. Then make the expression agree with it. For example, “A driver’s total route time must not exceed 10 hours” is much more useful than “Respect driver limits.”
The editor accepts JSON text and the create action parses it, but semantic correctness is still your responsibility. Keep the variable, operator, and value aligned with the parameters used by the scenario.
After creation, the template is grouped under its category and marked Hard or Soft. From there, add it inside a scenario’s Constraints tab when you want that rule to participate in a run.
Step 2: edit the rules that belong to one scenario
Open a scenario and select Constraints. The editor groups rules by category and shows a shield for Hard constraints and a clock for Soft constraints. Select a rule to edit it, or choose New Constraint to create one directly on the scenario.
The scenario editor exposes Name, Category, Type, Description, Natural Language, and a CDL/JSON Expression. It also provides a formal verification action for Hard constraints. Use this page when the rule is specific to one scenario or when you need to refine a reusable template for a particular operation.
If the scenario was generated from Natural Language, Truvyx may already have created constraints. Treat those as a draft: inspect the wording, change the type when necessary, and remove rules that do not match your real process.
Step 3: check for contradictions before running agents
Two individually sensible rules can be impossible together. For example:
A delivery must arrive no later than 10:00.
The same delivery cannot leave before 11:00.
Use the conflict check when you are reviewing a group of constraints. Truvyx checks simple algebraic bounds directly and uses an LLM-assisted check for non-algebraic rules when available. A conflict report is evidence to investigate, not a replacement for your operational judgment.
Then use the scenario’s Feasibility panel and click Run Check. The result can be Feasible, Infeasible, or Under-constrained. The report shows total constraints, binding and slack counts, difficulty, duration, conflicts, ground-truth values, and an optional solver log.
- Feasible: the current rules have a solution according to the configured assessment.
- Infeasible: at least part of the rule set cannot be satisfied together.
- Under-constrained: the rules do not define enough of the problem to make the result reliable.
If the Python worker is available, the check is sent to the worker and streamed back through a status event. If it is not available, Truvyx falls back to an inline assessment. That fallback is useful for continuity, but a production team should still monitor worker health and queue configuration.
Step 4: use CDL/JSON as an inspection tool
The Expression editor is not there to make the product feel technical. It gives you a way to inspect the machine-readable rule that sits beneath the plain-English description. The supported expression families include comparison, linear, temporal, cardinality, and custom forms.
Use the plain-language field to communicate intent and the expression to make variables, operators, and bounds explicit. When those two disagree, fix the mismatch before running an evaluation. Otherwise a verifier may be faithfully checking the wrong rule.
Step 5: configure Escalation Policy for human oversight
Escalation Policy is not another constraint list. It defines when an agent must pause and wait for a human decision. Select the scenario, then either choose Generate with AI or add a tier manually.
Each tier has a name, priority level, trigger condition, required context fields, approval deadline, and safety flags. The flags can require an irreversible-action warning, financial-impact information, or alternatives considered. Save the policy only after you can explain what evidence a human reviewer will receive.
This module connects directly to Scenario Studio because policies are attached to a scenario. It also connects to HITL Analytics and RCA: an agent acting without a required escalation is treated as a coordination or human-oversight failure.
Step 6: protect sensitive fields with Restricted Fields
Restricted Fields is an organisation-level information boundary. Register a field name such as patient_ssn, explain the legal or operational basis, choose a restriction type, and optionally list aliases and allowed agent roles.
- Prohibited: the field must not be accessed.
- Role Restricted: only named agent roles may access it.
- Purpose Restricted: access is allowed only for a stated purpose.
- Aggregation Only: use aggregated information rather than individual records.
Field name and restriction basis are required, and registering fields is admin/owner-only. The aliases matter because an agent may refer to the same sensitive value under a different key. Prohibited and role-restricted violations are treated as critical information-boundary faults; purpose-restricted violations produce medium-severity warnings.
Step 7: export and connect the rule set
From Templates, choose a scenario in the export selector and use the export control to produce a PDF, JSON, or shareable link for compliance or operations audiences. Export after review, not before: the exported map reflects the scenario’s current constraint set.
From there, the rule set connects to several modules:
- Verifier Factory: turns rules into checks against an agent output.
- Feasibility: tests whether the rules can coexist and surfaces conflicts.
- RCA Engine: explains which failed rule and causal chain led to a bad result.
- HITL Analytics: measures whether escalation and human oversight worked.
- Monitoring: watches for regression patterns across repeated runs.
- SDK/API: carries the scenario and its verifier into an external CI/CD or application workflow.
A safe first exercise
- Open Scenario Studio and choose a scenario you understand.
- Add one hard rule that must never be violated.
- Add one soft preference that improves a valid result.
- Run the feasibility check.
- Read the generated CDL/JSON and compare it with the plain-English rule.
- Open the Verifier page and connect the rule set to a test run.
- Only after that, register a real restricted field or escalation policy.
The goal is not to create dozens of rules. The goal is to learn whether each rule is understandable, enforceable, compatible with the others, and connected to an action when it fails.
Continue the workflow
Start with Constraint Engine, then return to Scenario Studio to apply rules to a scenario and use the evaluation pipeline guide to run them repeatedly.