
Verifier Factory · Beginner tutorial
How to turn scenario rules into a working AI verifier
A verifier is the executable part of an evaluation. It takes an agent’s output, checks it against the scenario’s constraints, and returns evidence: pass or fail, a score, constraint-level results, and violations. This guide starts from zero and follows the whole path from scenario to local test, dashboard run, downloadable script, and CI/CD.
What the verifier does—and does not do
Truvyx does not call the AI system you are evaluating. Your system runs wherever you run it. You submit its output to Truvyx; the verifier checks that output against the scenario. This separation lets you compare different models, prompts, agent pipelines, and versions using the same test.
Before you begin: the three objects
Keep these separate in your head:
- Scenario: the job, agents, parameters, and constraints.
- Verifier script: executable logic that checks an output against those constraints.
- Run: one attempt by one named AI system, with its output and resulting evidence.
Change the scenario and you may need a new verifier. Change the agent output and you create a new run. Generate a new verifier and Truvyx versions it rather than silently overwriting the previous script.
Step 1: create the scenario and constraints first
Start in Scenario Studio. A verifier without clear constraints has nothing reliable to check. Use a template or Natural Language to create the scenario, then review its rules in the Constraints tab.
This is where the Constraint Engine guide connects: define what must pass, what is preferred, and which information boundaries apply before asking the Factory to generate code.
Step 2: open the actual Verifier Factory
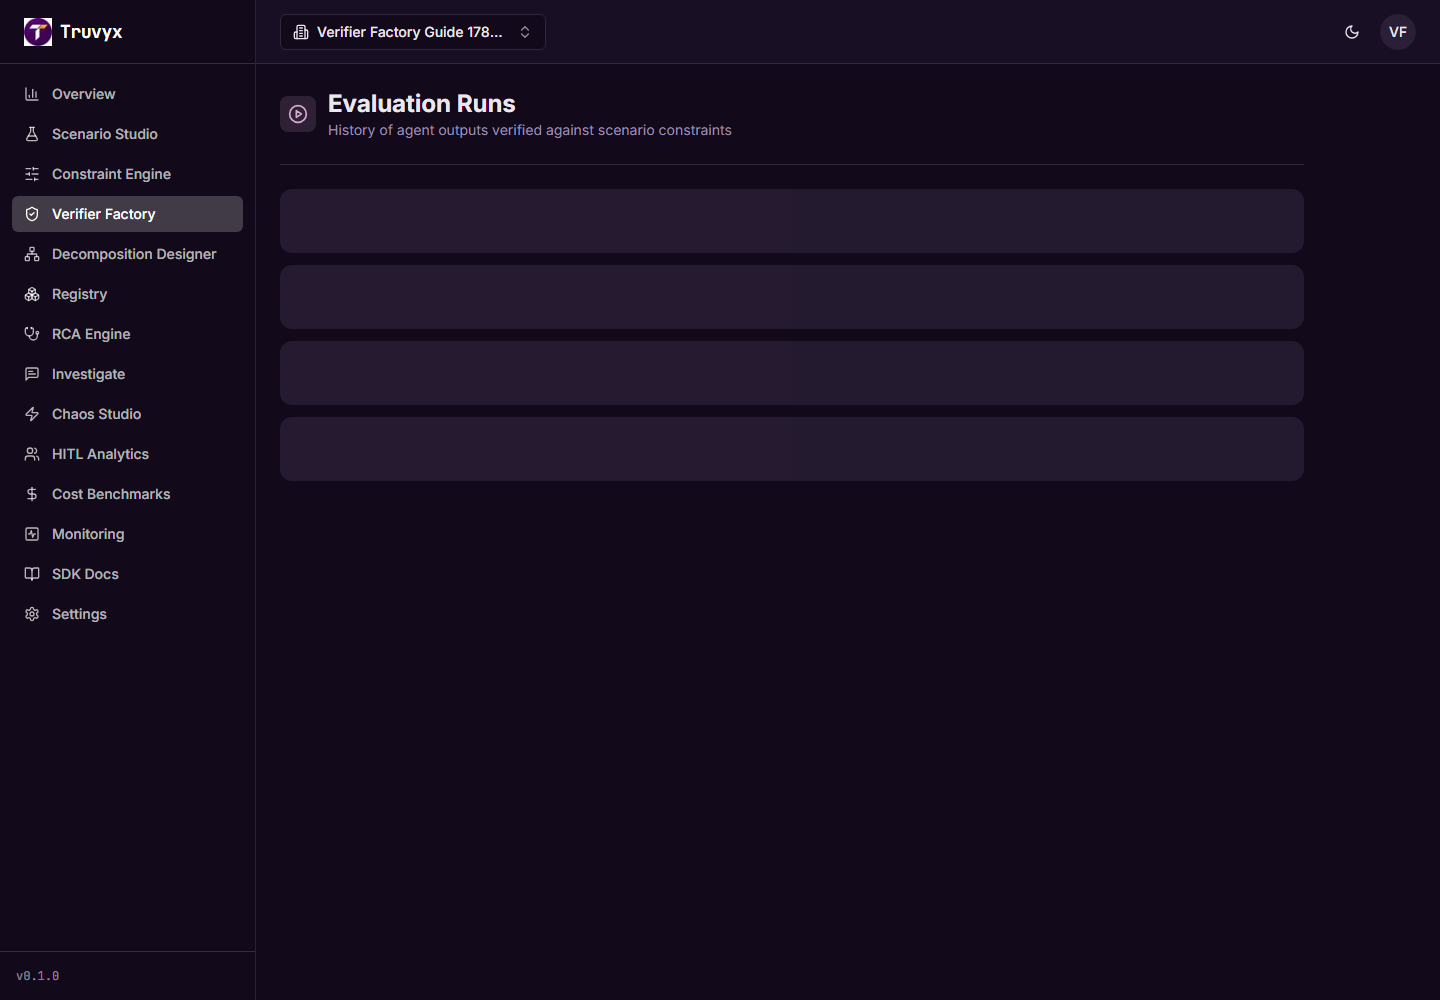
Open a scenario’s detail page and click Verifier. The sidebar label “Verifier Factory” points to the Evaluation Runs dashboard at /runs; the per-scenario Factory is at /scenarios/:id/verifier.
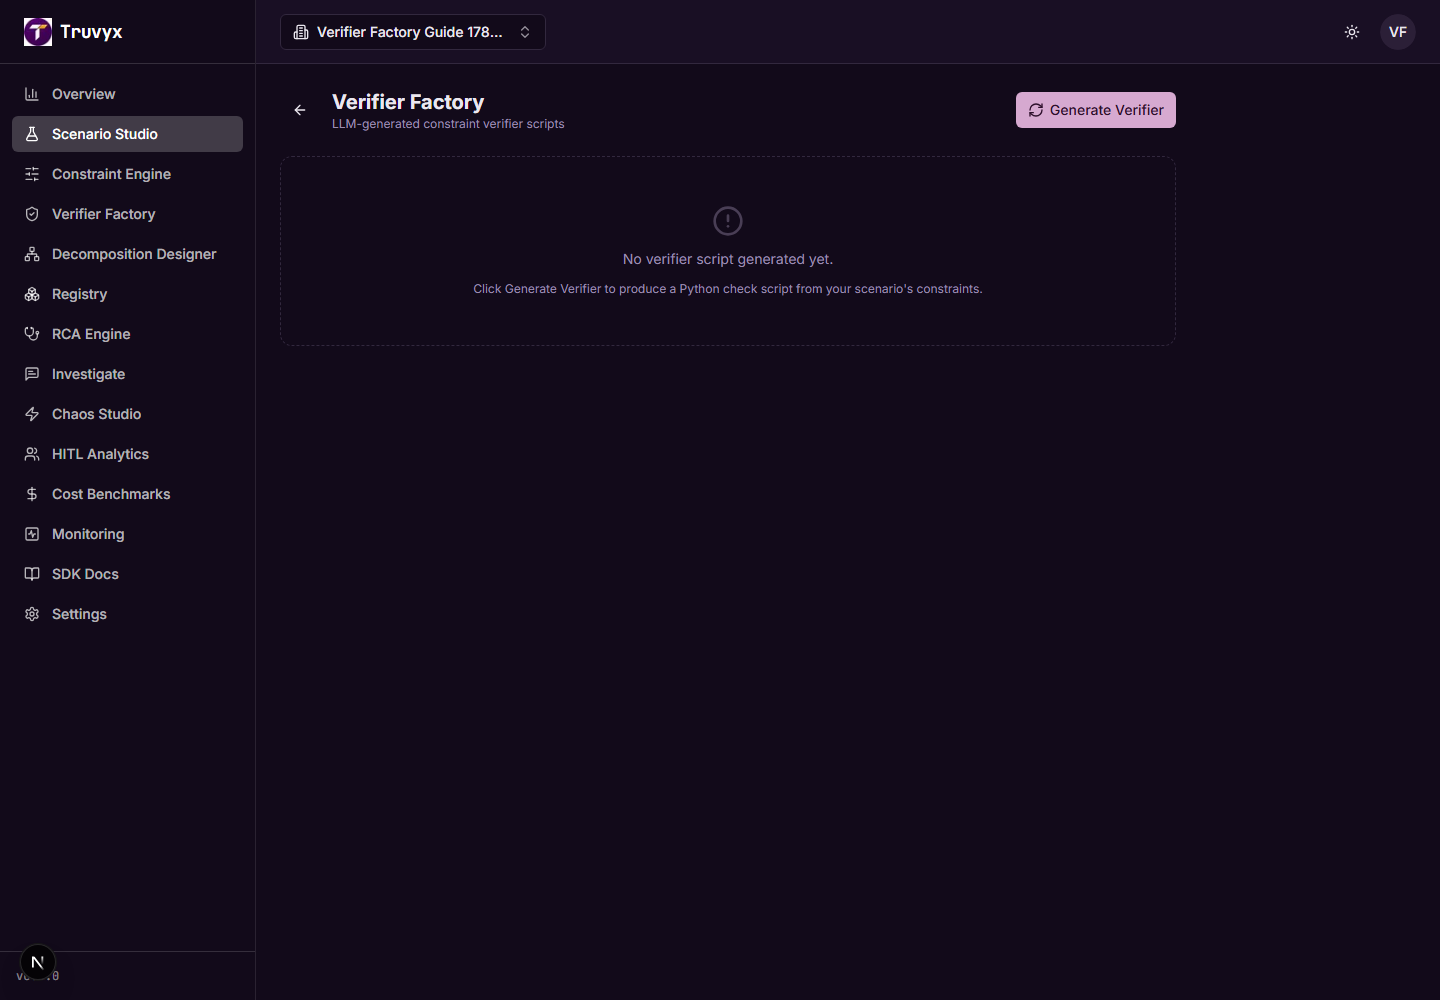
If no script exists, you will see a clear empty state and Generate Verifier. The generation request includes the scenario name, description, parameters, and constraints.
Step 3: generate and read the script metadata
Click Generate Verifier. Truvyx first tries the Python worker. If the worker is unavailable, it falls back to inline language-model generation. The result is persisted as a versioned VerifierScript with:
- version number;
- SHA-256 checksum;
- model/provider metadata when available;
- Python script content;
- Dockerfile and requirements;
- generation timestamp.
A generated script is not automatically trustworthy. Read the script, compare its checks with the natural-language constraints, and test it with outputs whose correct result you already know.
When you regenerate, the next version is created. Keep the old version when you need reproducibility for earlier runs.
Step 4: inspect the Script tab
The Script tab displays the Python verifier in a read-only editor. The generated contract is designed to read JSON from standard input and emit JSON to standard output. In practical terms, the script should be easy to run locally, inside Docker, or in a CI job.
The dashboard’s Submit Run form uses a simple object with decisions, reasoning, and actions_taken by default. Your own verifier may expect a different shape. Match the agent output to the script’s assumptions rather than guessing.
Step 5: use Test Run before evaluating a real system
Open the Test Run tab and paste an example agent output as JSON. Click Run Test. This is a harness check: it helps you see whether the verifier responds as expected before you attach a real agent.
A result can include:
- PASSED/FAILED: the overall result.
- Score: the aggregate result represented as a fraction or percentage.
- Constraint scores: which individual rules passed.
- Violations: rule name, severity, description, actual value, and expected value.
- Summary and execution time: a compact explanation and timing signal.
If the worker is unavailable, the test route can use an inline simulation. Treat that as a fallback, not proof that your production worker is healthy.
Step 6: submit a real Run
Open Submit Run. Enter the name of the AI system you are testing, then paste its raw JSON output. Click Run Evaluation.
The dashboard creates a run associated with the scenario, organisation, agent system name, output, and selected verifier version. The result appears in Evaluation Runs, where you can open the run detail and inspect violations.
Step 7: download, containerise, or connect CI/CD
The Download control saves the selected script as verifier_vN.py and exposes its checksum in the response. Use the checksum when you need to record exactly which verifier was executed.
The CI/CD tab provides a GitHub Actions example that pipes agent output into the Python script. It also shows the generated Dockerfile and links back to Evaluation Runs. Before using the snippet in a repository, replace example secrets and decide where the agent output is produced.
For external integrations, use the Connect flow and the documented v1 API: submit camelCase fields such as scenarioId, agentSystemName, and agentOutput. Poll the v1 result endpoint with the same production API key.
How Verifier Factory connects to the next modules
- Constraint Engine: supplies the rules the script checks.
- Evaluation Runs: stores each submitted output and status.
- RCA Engine: uses violations and traces to explain likely causes and smallest repairs.
- Monitoring: detects regressions across repeated verifier runs.
- Registry: lets you publish or reuse scenarios and their evaluation contract.
- SDK/API: lets CI and external systems submit runs without opening the dashboard.
The Factory is therefore a bridge: rules become executable checks, executable checks become evidence, and evidence becomes a decision about whether to ship, investigate, or escalate.
A safe first exercise
- Create one narrow scenario.
- Add one hard and one soft constraint.
- Generate a verifier and read the script.
- Test one output that should pass and one that should fail.
- Submit a real run with the name of the system you are evaluating.
- Open the run result and follow the first violation into RCA.
- Only then copy the CI/CD snippet into an automated workflow.
Continue the workflow
Read how to define reliable constraints, then open Evaluation Runs to review the evidence your verifier produces.