
Decomposition Designer · Beginner tutorial
How to map a multi-agent system in Truvyx
Decomposition Designer is where an operational task becomes an explicit architecture: agents, roles, information boundaries, dependencies, coordination rules, and contracts. If you have never drawn a multi-agent system before, this guide explains what every part of the canvas means and how to tell whether the design is safe to evaluate.
The mental model
A node is an agent or component. An edge is a dependency or message path between two nodes. The node’s information scope says what it can know; its action space says what it can do. The graph is not decoration: it is the architecture contract you can inspect, test, export, and compare with observed runs.
Before you open the canvas
Start with a scenario in Scenario Studio. Decomposition is not a substitute for defining the operation. The scenario gives the designer its job, parameters, agent expectations, and constraints.
A useful first decomposition answers three questions:
- Which distinct responsibilities need separate agents?
- What information does each responsibility need—and what should it not see?
- What must happen in sequence, in parallel, conditionally, or as a broadcast?
Step 1: open Decomposition Designer
The dashboard entry point is Decomposition Designer. It lists saved designs grouped by scenario. If there are no designs, open a scenario and click Decomposition to create the first one.
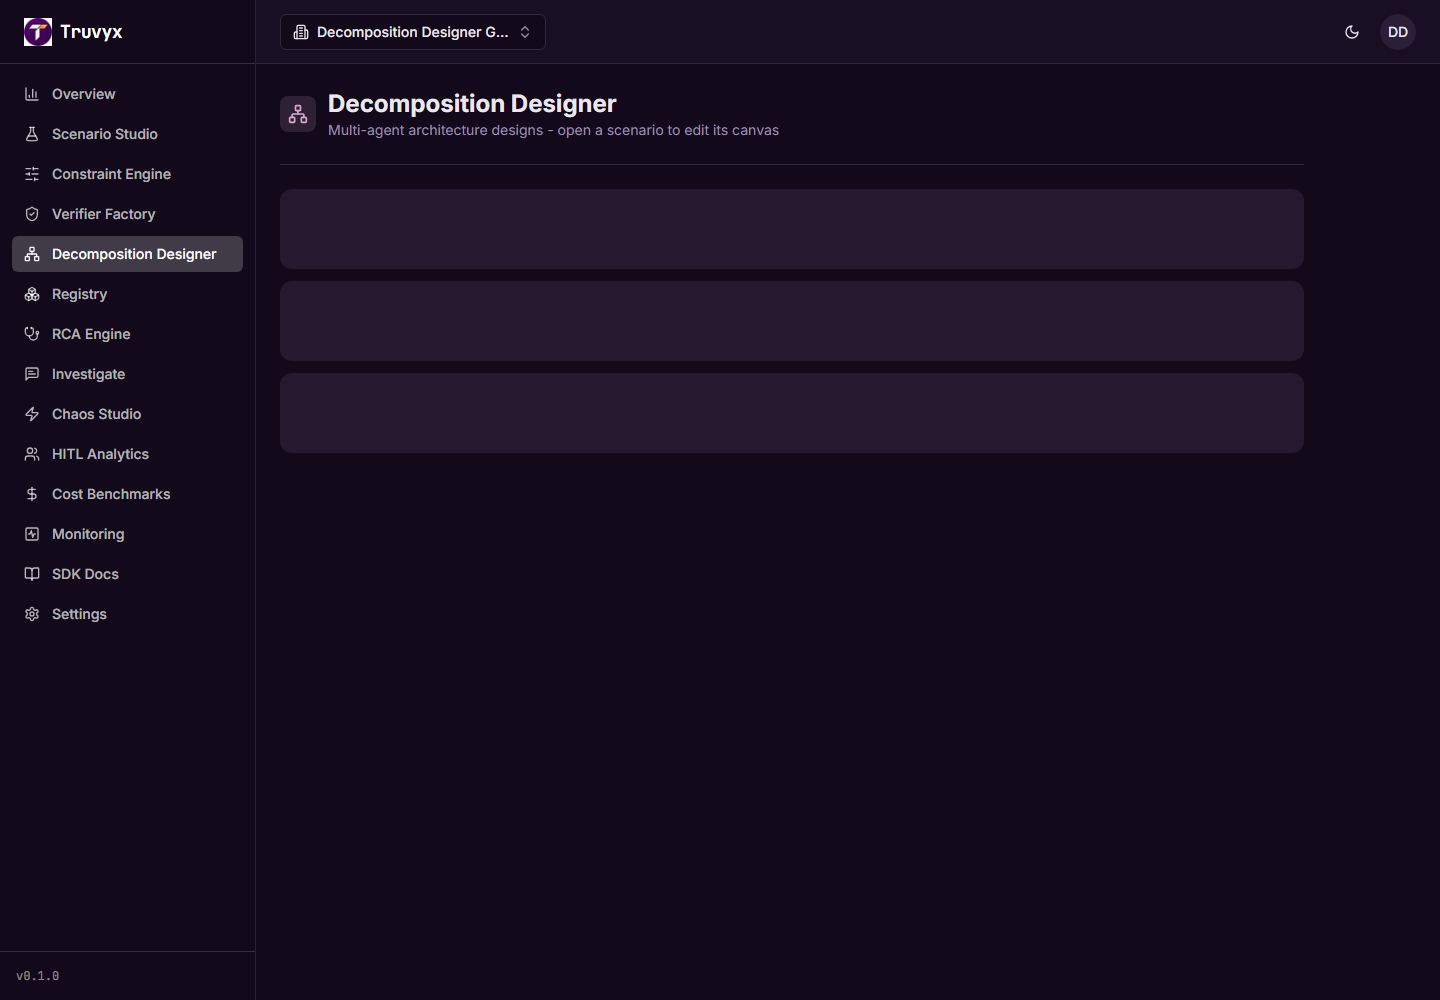
The list shows the design name, whether it is the reference design, coordination protocol, information model, exported framework, and last update time. The anti-pattern export action belongs to the scenario group and produces an operations or executive report.
Step 2: create a design
From the scenario, click Decomposition. If no design exists, choose Create First Design. If designs already exist, use New Design and give it a meaningful name such as “Reference pipeline” or “Peer-to-peer experiment.”
The design starts with an empty graph. Truvyx stores the design under the scenario and organisation. Changes are autosaved every five seconds after a graph or policy change, except when a circular dependency error blocks persistence.
Step 3: add and shape agent nodes
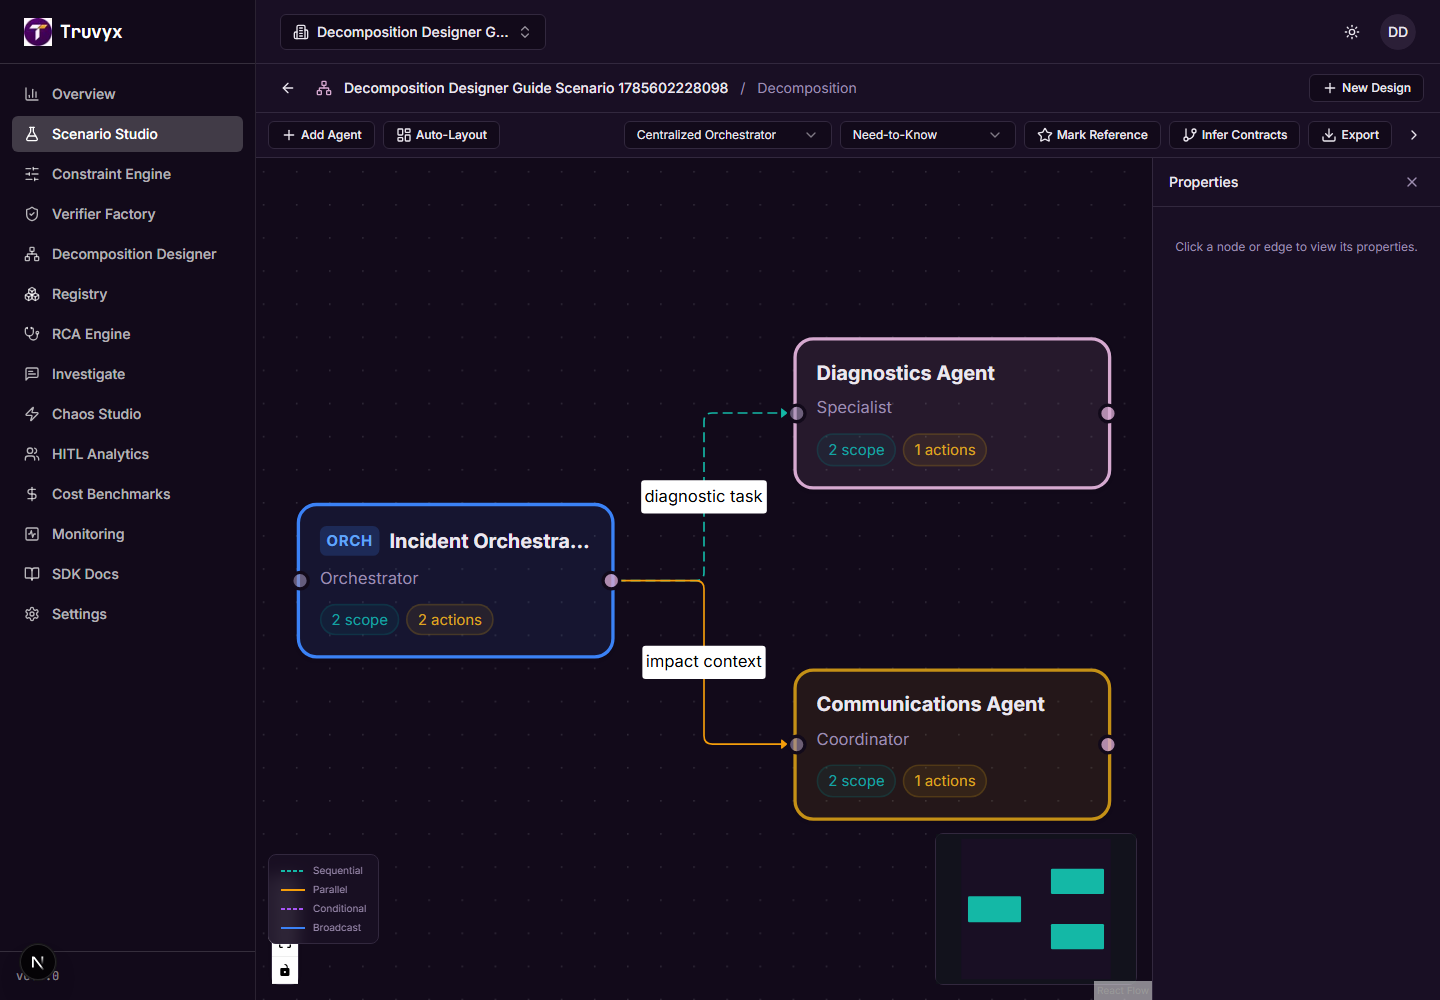
Click Add Agent. A node appears on the canvas. Click the node to open its properties panel.
Complete the node fields:
- Name: the label teammates will see on the graph.
- Role: Planner, Executor, Validator, Coordinator, or your own operational role.
- Description: the responsibility in plain language.
- Is Orchestrator: marks the node that coordinates other agents.
- Information Scope: add the data categories the agent may use.
- Action Space: add the actions the agent is allowed to take.
Press Enter after each scope or action item. The chips on the node make the interface visible in the graph. Do not put “everything” in every agent’s scope just because it is convenient; information boundaries are part of the design you are evaluating.
Step 4: connect dependencies
Drag from the source handle on one node to the target handle on another. The new edge defaults to Sequential. Click an edge to edit it in the properties panel.
- Sequential: the target depends on the source completing first.
- Parallel: the branches can proceed independently.
- Conditional: the edge is followed when its condition is true.
- Broadcast: the source publishes information to multiple consumers.
Add a label describing what flows across the edge. For a Conditional edge, also provide the condition, such as task.status === "approved". An unlabeled line may be visually correct but operationally ambiguous.
Step 5: choose coordination and information policy
The toolbar contains two architecture-level selectors:
- Coordination: Centralized Orchestrator, Peer-to-Peer, Blackboard, Hierarchical, Pipeline, or Hybrid.
- Information Model: Full Observability, Need-to-Know, or Strict Isolation.
These are design assumptions, not labels for a slide deck. A centralized design concentrates decision authority. Need-to-Know limits what each agent receives. Strict Isolation makes the boundary strongest but can increase coordination cost. Choose what your system actually does—or use the design to document the architecture you intend to build.
Use Auto-Layout after adding nodes to arrange the graph. Use Mark Reference when this is the design you want to compare other versions against.
Step 6: read the live anti-pattern warnings
The canvas checks the graph as you edit it. Warnings include:
- God Orchestrator: one orchestrator handles more than 70% of graph edges.
- Information Silo: a non-orchestrator has no inputs but sends multiple outputs.
- Circular Dependency: a path loops back to an earlier node and can deadlock. This is a blocking error for autosave.
- Missing Conflict Resolver: multiple agents share resource-like scopes without a resolver, mediator, arbitrator, or coordinator.
Warnings are design prompts, not automatic proof of failure. A god orchestrator may be intentional in a small system; a circular dependency is usually a real execution risk. Read the message, inspect the affected nodes, and decide whether to change the architecture or document why the pattern is acceptable.
Step 7: infer and test agent contracts
An edge says that information or work moves from one agent to another. A contract says what that handoff must look like. Click Infer Contracts after you have enough evaluation history. The server requires at least five runs by default and infers producer output schemas, preconditions, postconditions, allowed null fields, confidence, and source run IDs.
Once contracts exist, click Run Contract Tests from the relevant update prompt or connected contract workflow. Edge colours show PASS, PARTIAL, FAIL, and SKIPPED. Semantic drift is flagged when an agent interface changes in a way that may break downstream consumers.
This connects directly to Evaluation Runs: contracts are inferred from observed outputs, not imagination. It also connects to Verifier Factory because the same scenario runs provide the evidence needed to establish reliable handoff expectations.
Step 8: export or report the design
Use Export in the canvas toolbar to generate framework code for LangGraph, CrewAI, or AutoGen. Truvyx first tries the server export route and falls back to local code generation if the server is unavailable. The selected framework is stored on the design.
From the Decomposition Designer list, export an anti-pattern report as PDF, JSON, or a share link. Choose an Operations or Executive audience so the report explains the same architecture in the language the reader needs.
How this module connects to the rest of Truvyx
- Scenario Studio: supplies the operation and the scenario that owns the design.
- Constraint Engine: defines rules about resources, dependencies, safety, information, and fairness.
- Verifier Factory: checks whether observed agent outputs satisfy those rules.
- RCA Engine: investigates failures in a node, edge, contract, or causal chain.
- Monitoring: detects architecture and behaviour regressions over repeated runs.
- Registry: publishes reusable scenario and architecture patterns.
A safe first exercise
- Choose one scenario and create a design called “Reference.”
- Add an orchestrator, two specialists, and the edges between them.
- Give each specialist a narrow information scope and action space.
- Label each edge and choose its dependency type.
- Run Auto-Layout and read every anti-pattern warning.
- Mark the design as Reference.
- After collecting runs, infer contracts and run contract tests.
- Export the graph only after the design reflects the system you intend to operate.
Continue the workflow
Read how to create the scenario, then use Constraint Engine and Verifier Factory before evaluating the architecture repeatedly.